


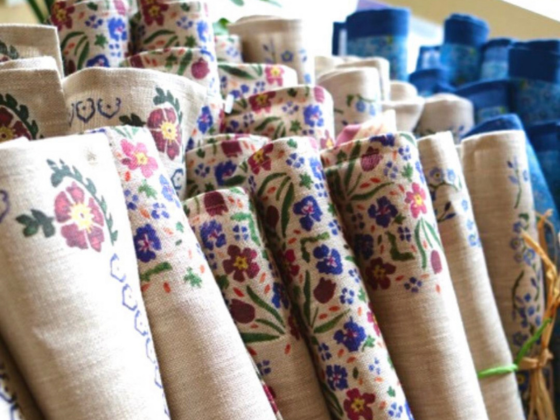


Discover Our Craftsmanship
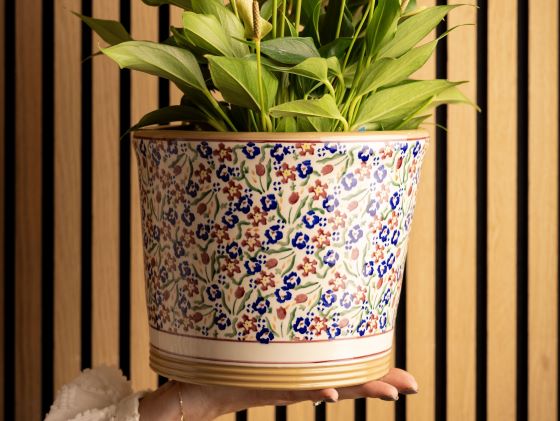
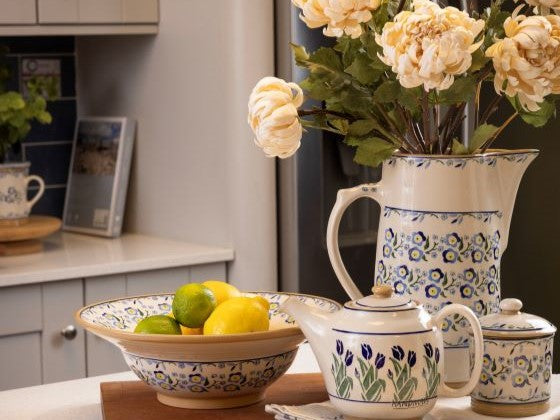
At Nicholas Mosse, we are driven by a commitment to quality, tradition, and sustainability. Each piece we create is a testament to these values, embodying the rich heritage and meticulous craftsmanship that define our brand. We believe in preserving the time-honoured techniques that have been passed down through generations of artisans, ensuring that every item is not just a product, but a piece of art with a story to tell.
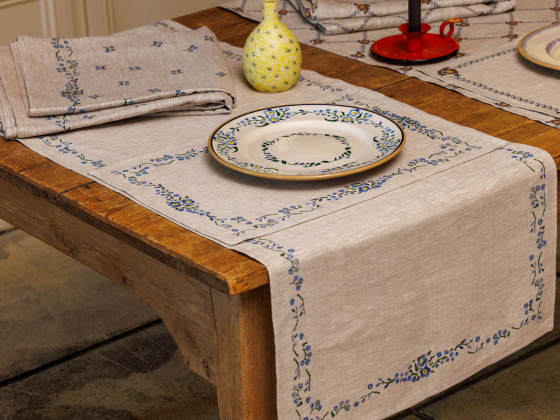
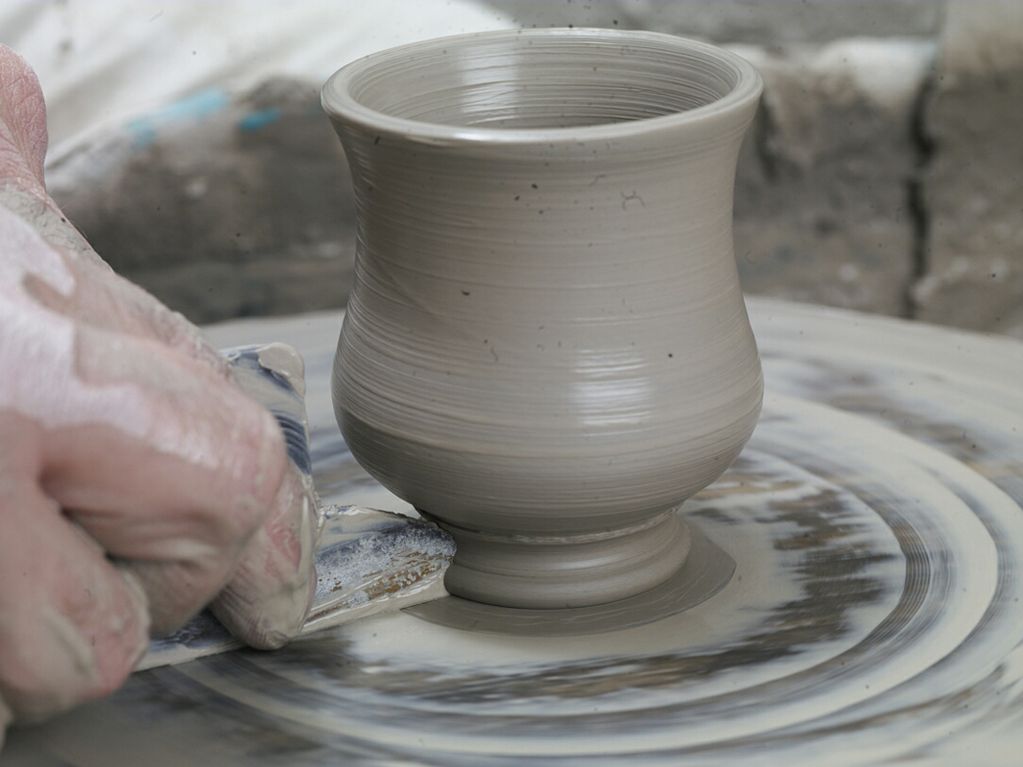
How It Begins
Every piece of Nicholas Mosse undergoes a 20-step, handmade process.

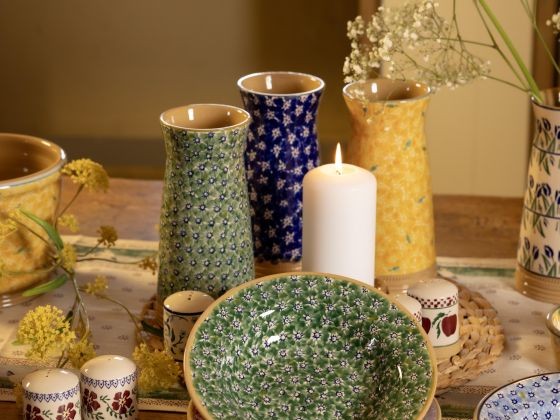
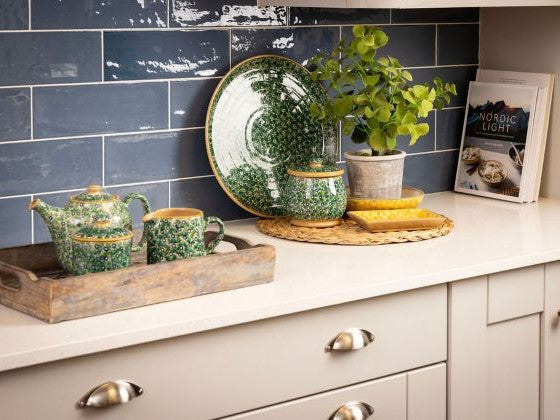
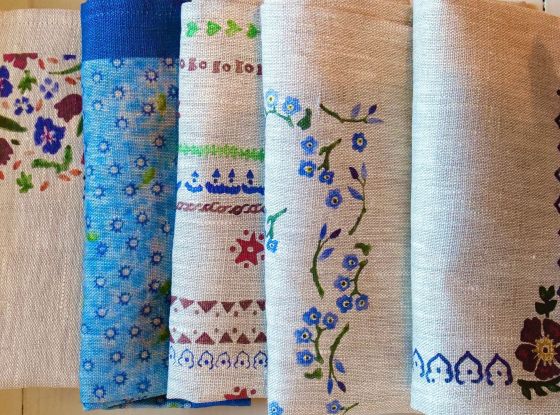
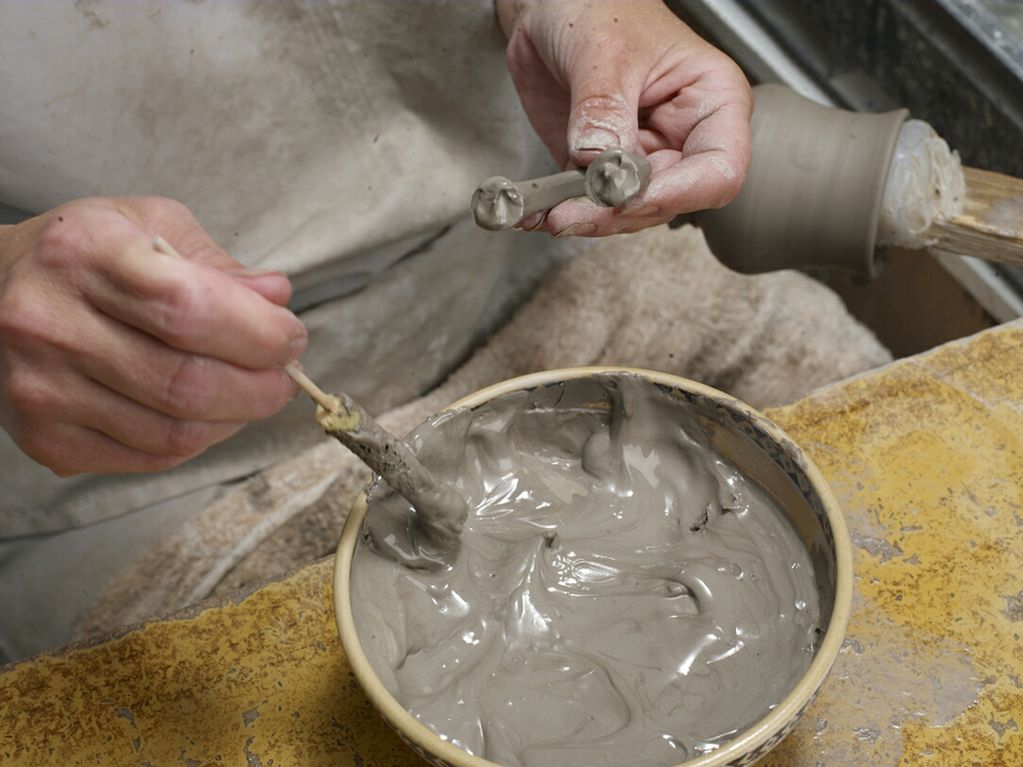
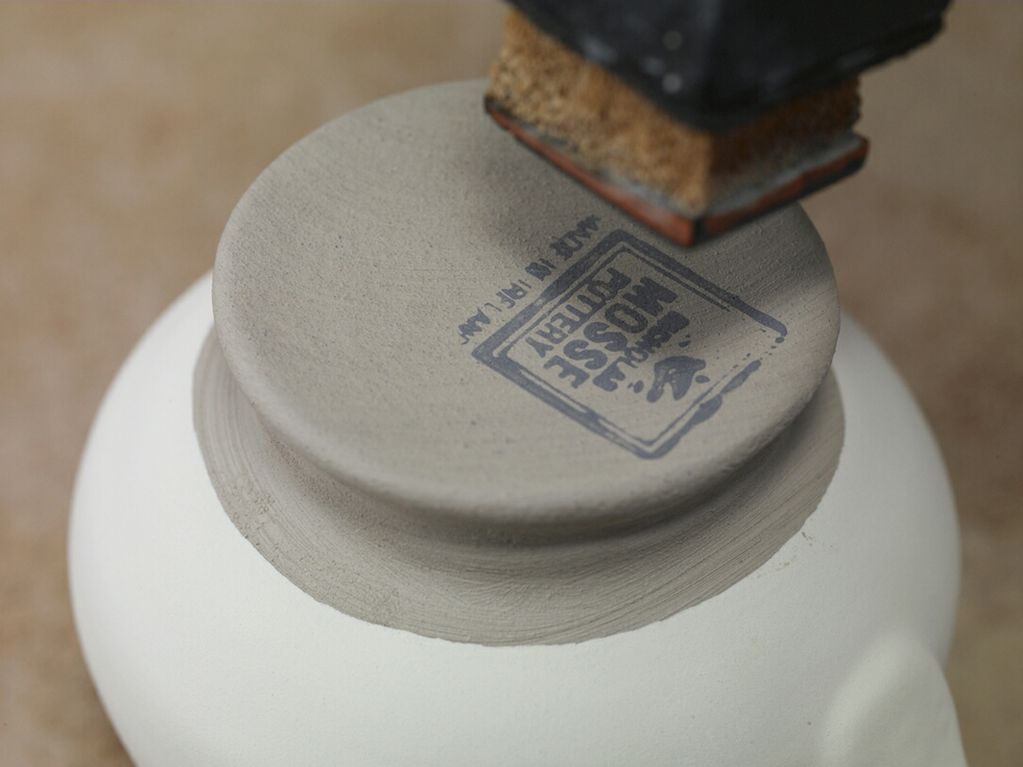
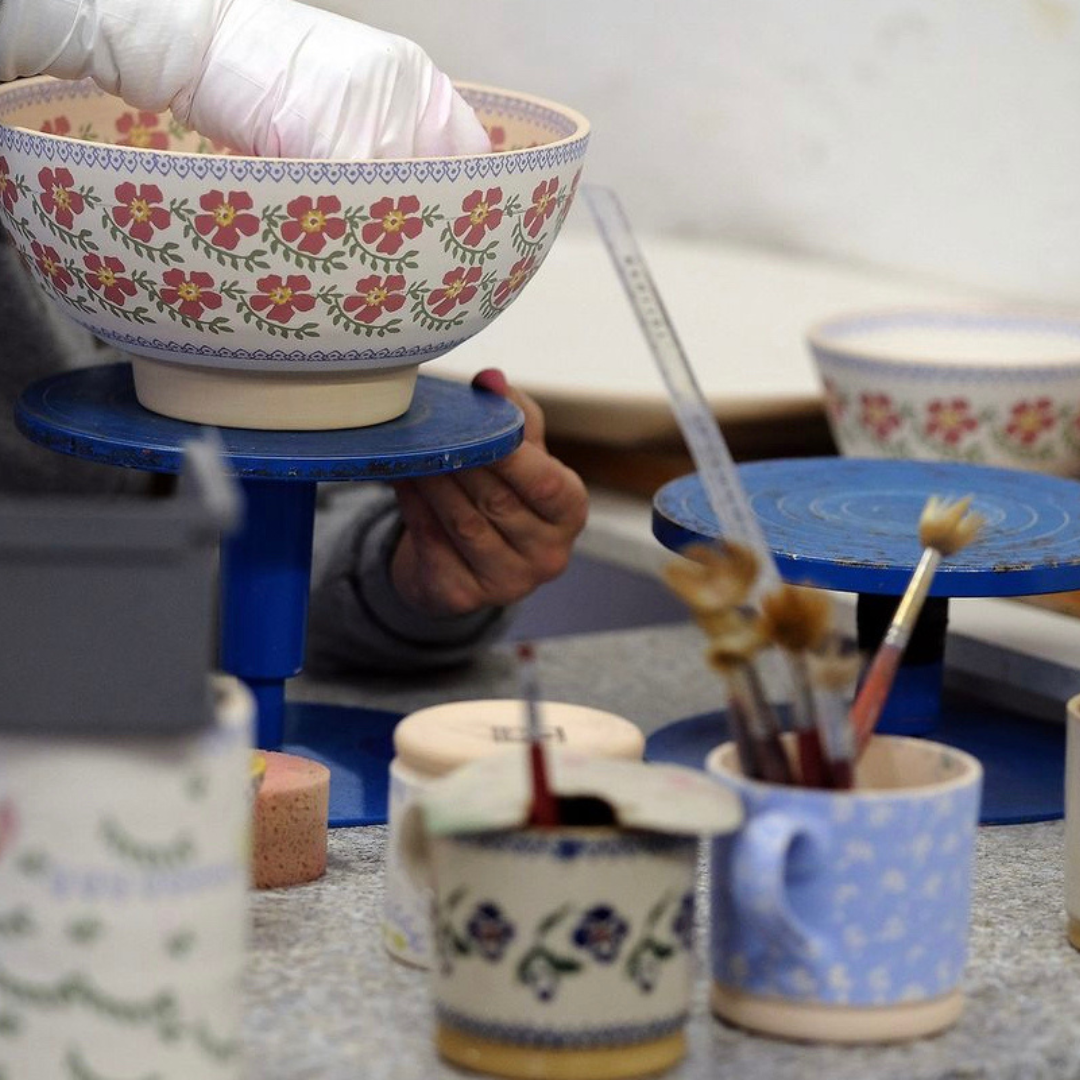
ALL IN THE DETAILS
Skilled hands and keen eyes ensure that only the highest quality items reach our customers.
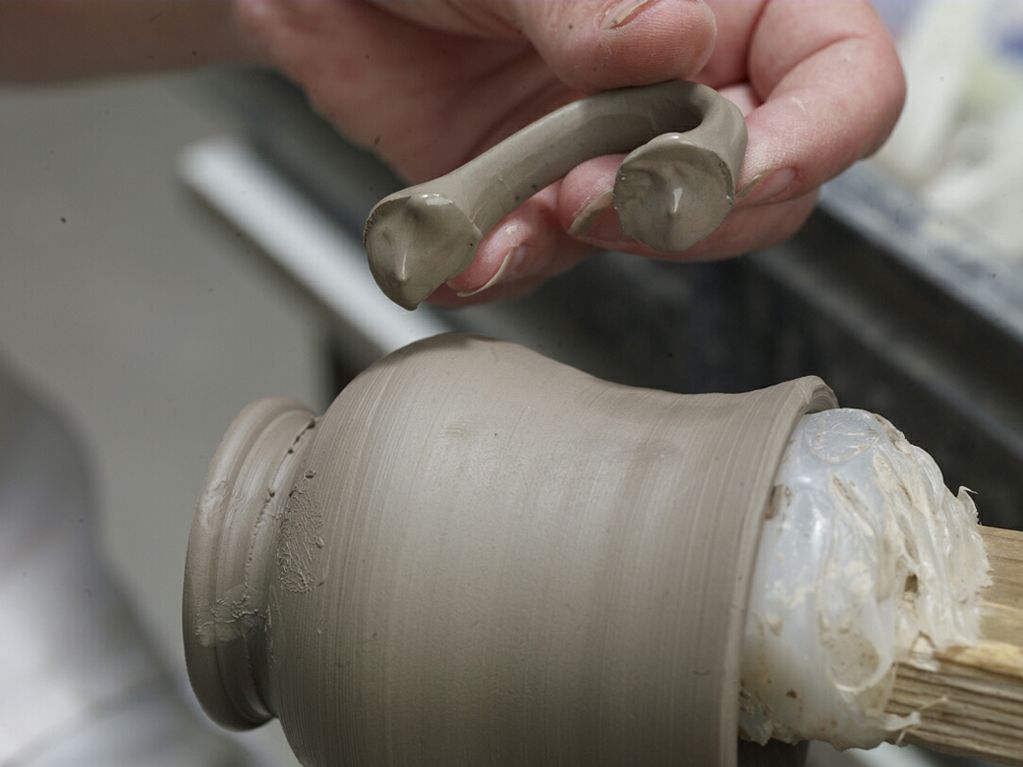
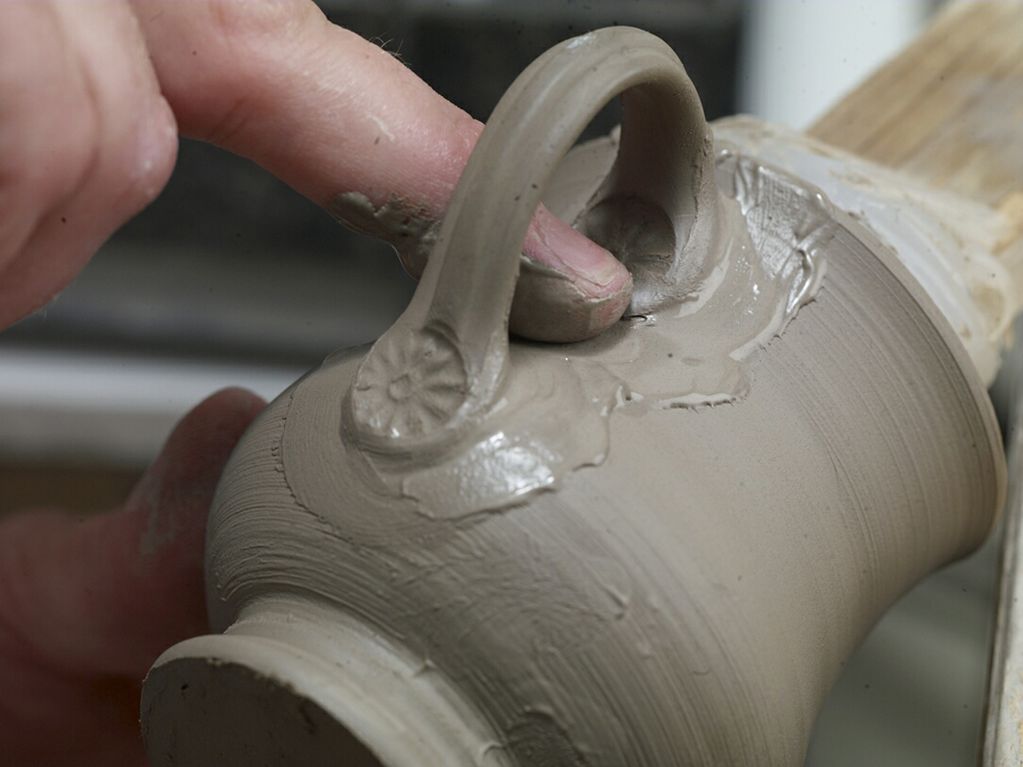
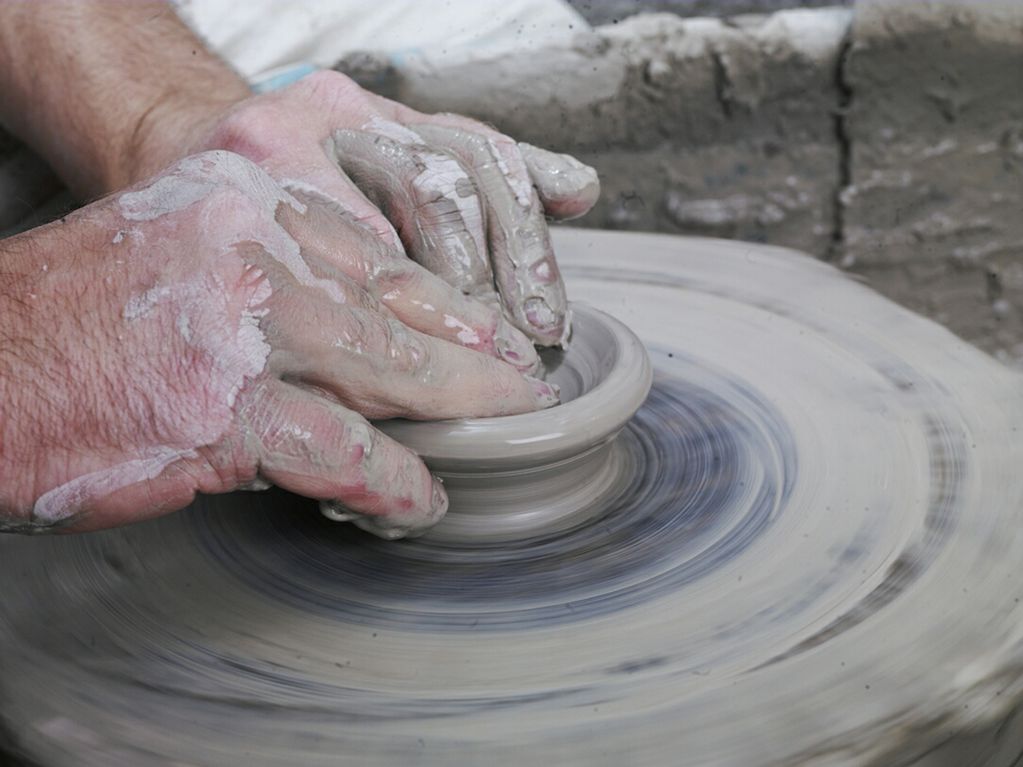
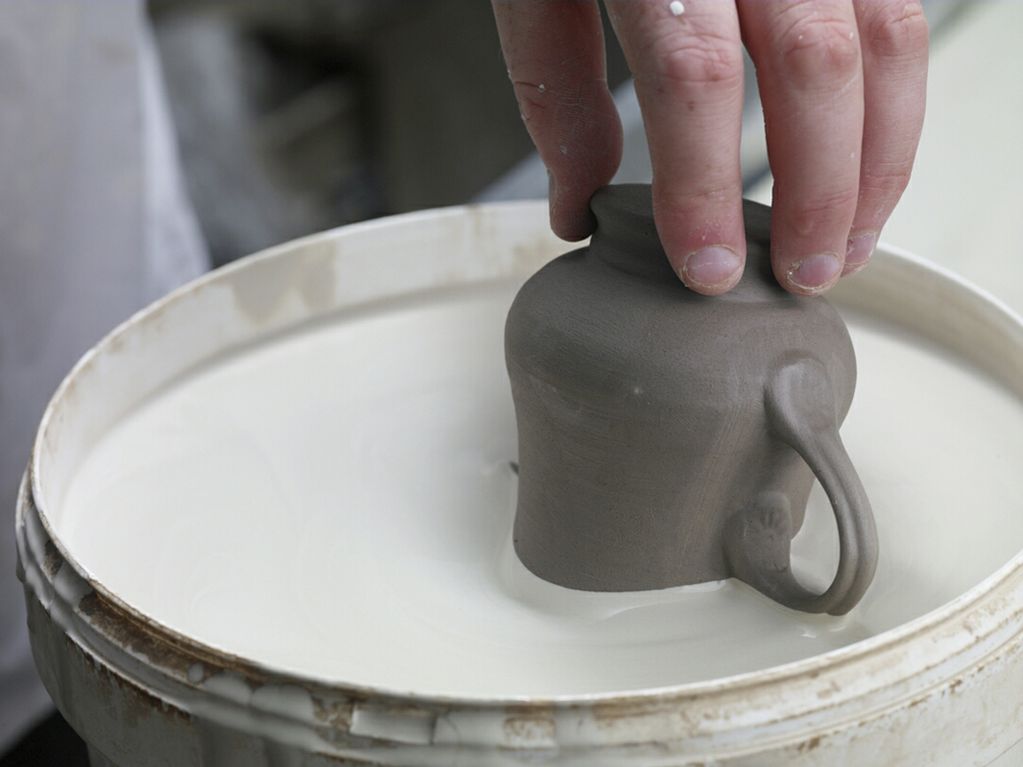
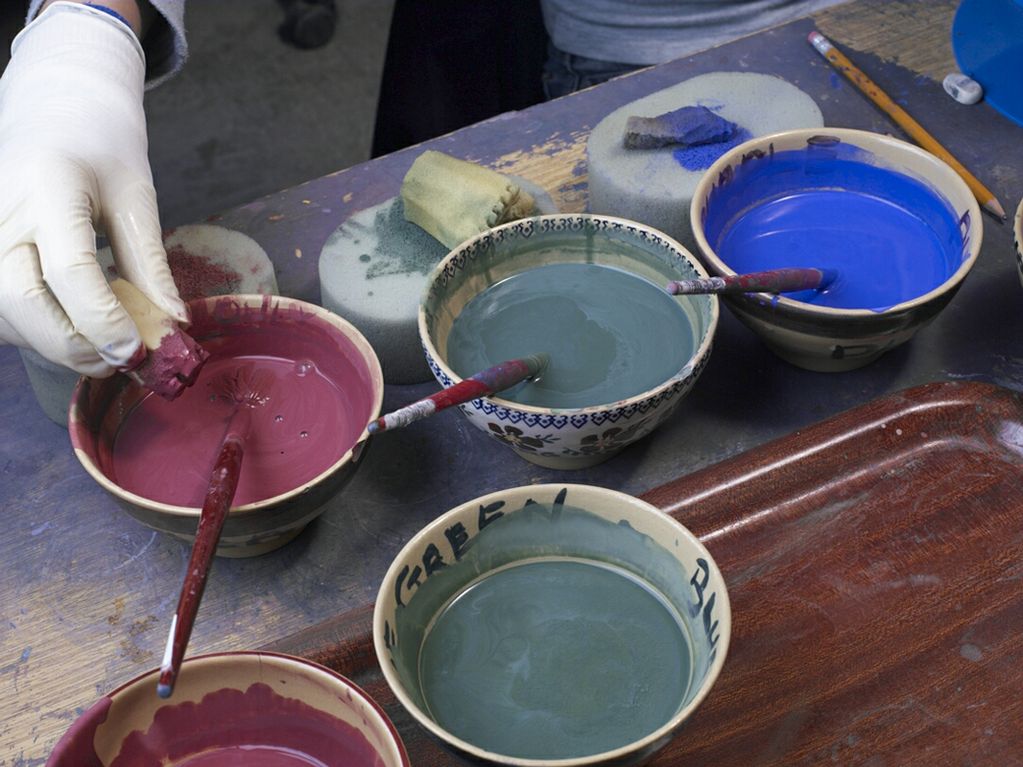
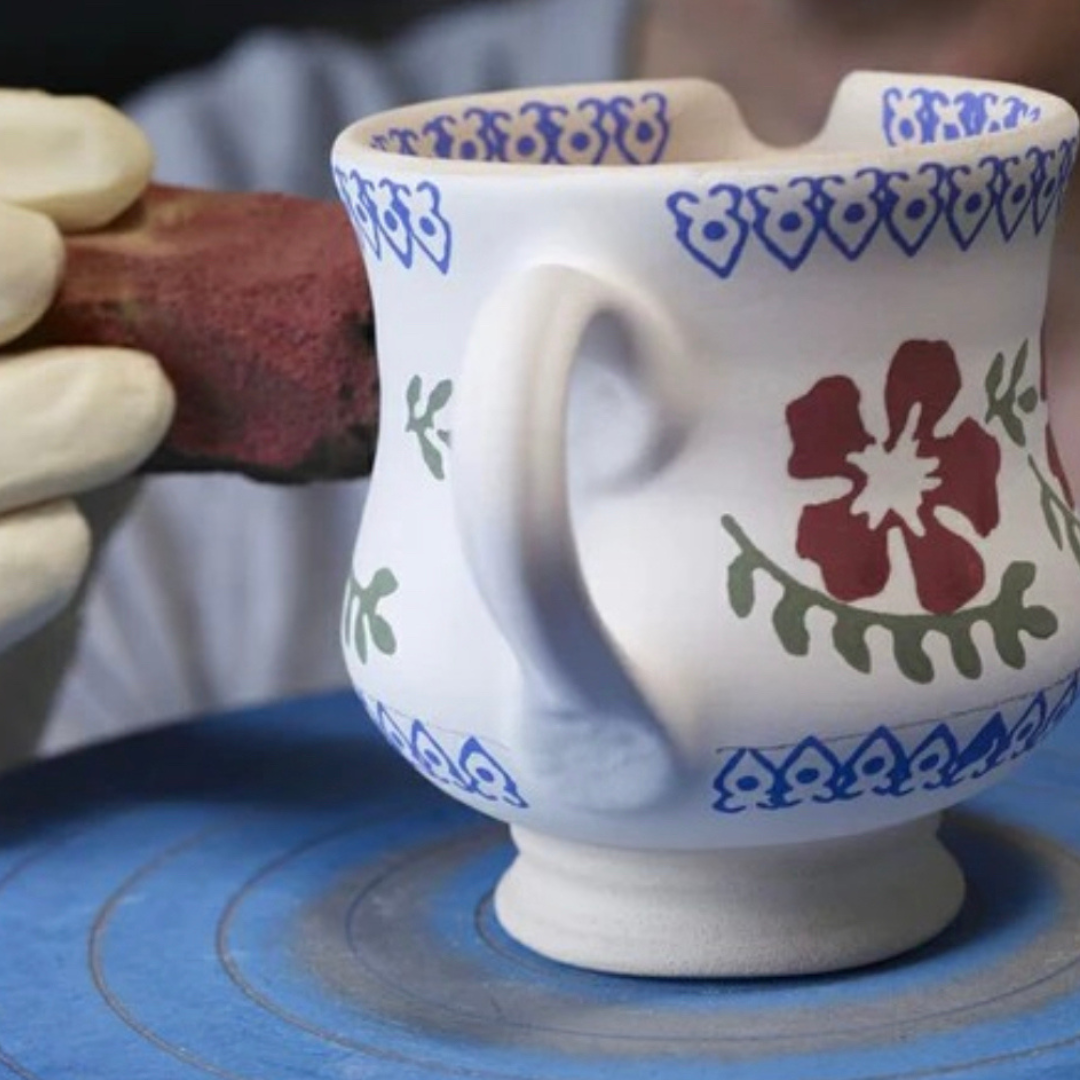
A Delicate Step in the Crafting Process
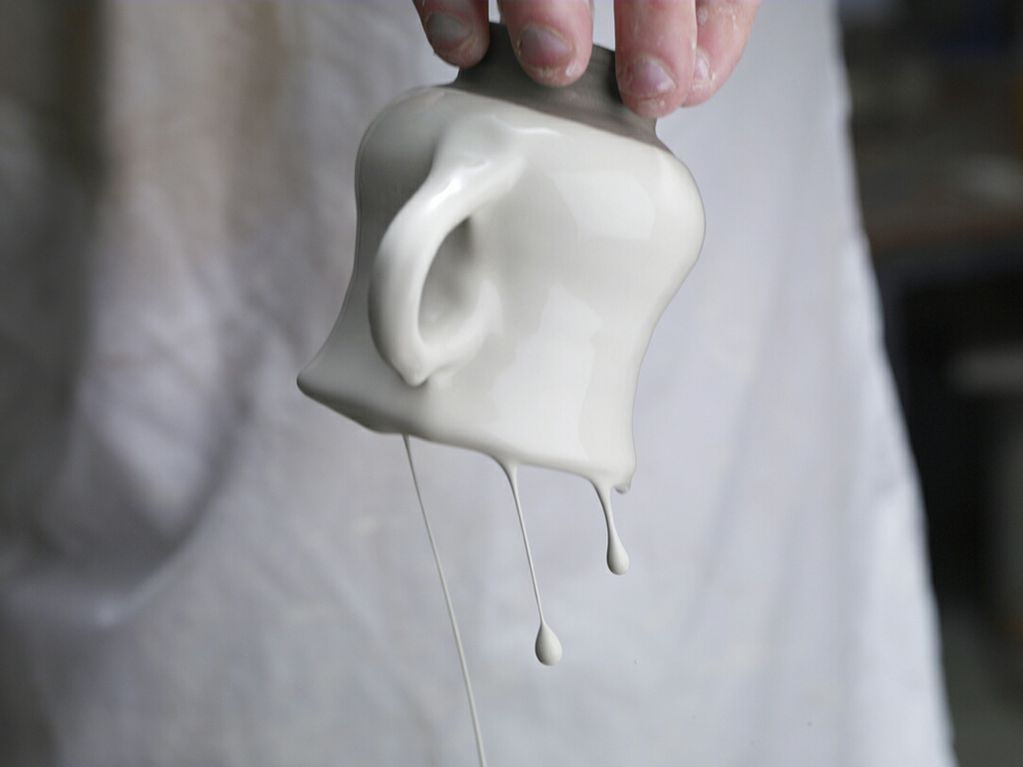
Transforming the Surface: Slip Dipping for a Perfect Finish

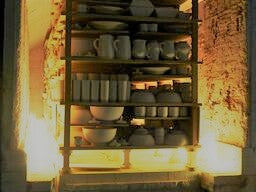
Hardening Clay for Decoration and Durability
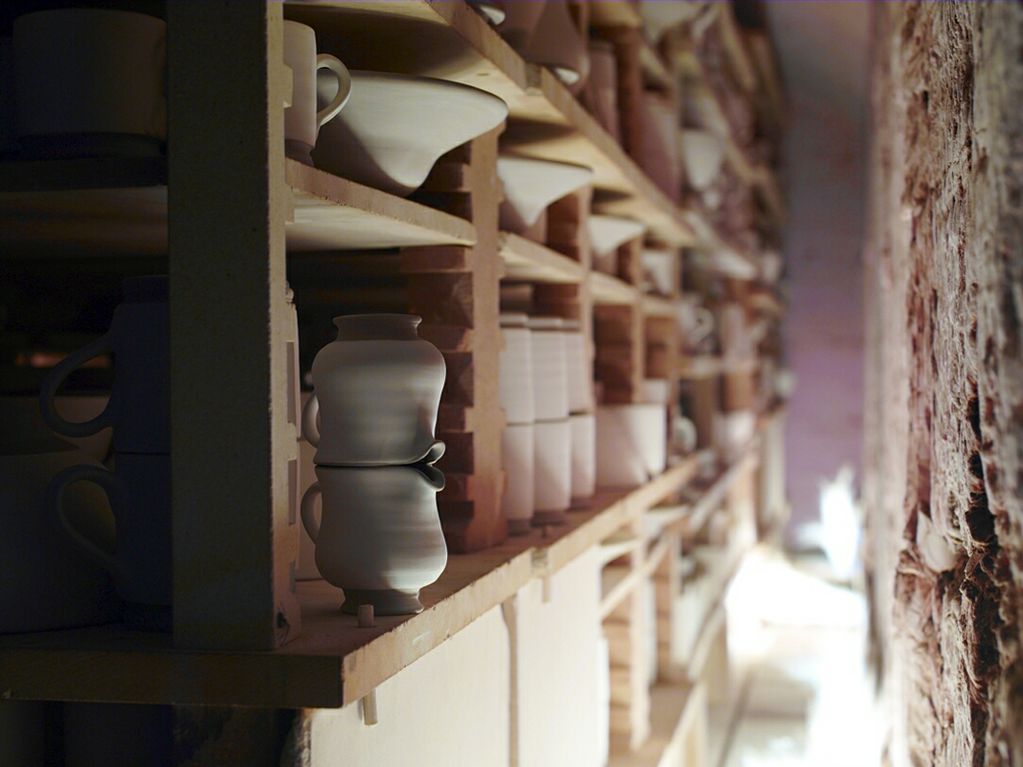
Preparing for the Next Stage: Bisque Kiln Firing
Dive into the magic on Instagram
To get an even closer look at the magic behind our pottery, follow us on Instagram. There, you can enjoy behind-the-scenes videos and exclusive content that showcases the fascinating journey from raw clay to finished masterpieces.